The Fire Pit
Note
This raid is part of the Fate of the Fate of the Gods III: Cursed Accessory questline.
Success
Maximum party size: 8 Maximum duration: 1 hour
Warning
You can recall your party one time. Gamemasters are not allowed to recall your party leader back on the raid.
Raid Start
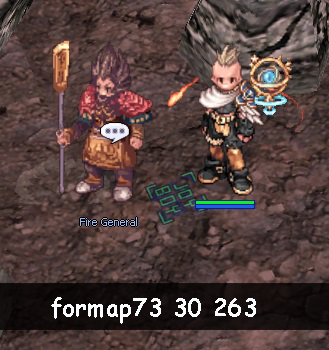
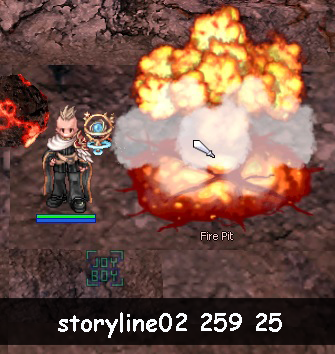 To start this raid talk to the Fire Pit.
Wave 1
| Name | HP | Size | Race | Element | |
|---|---|---|---|---|---|
 |
Agni | 950,000 | Small | Demon | Fire 4 |
 |
Fulbuk | 850,000 | Small | Demon | Fire 4 |
 |
Angi | 950,000 | Small | Demon | Poison 4 |
 |
Fulbuk | 850,000 | Small | Demon | Fire 4 |
Wave 2
| Name | HP | Size | Race | Element | |
|---|---|---|---|---|---|
 |
Agni | 4,500,000 | Large | Demon | Fire 4 |
 |
Red Lichtern | 1,150,000 | Small | Demon | Fire 4 |
 |
Angi | 950,000 | Small | Demon | Poison 4 |
|
Banaspaty | 1,200,000 | Small | Demon | Fire 4 |
Wave 3
| Name | HP | Size | Race | Element | |
|---|---|---|---|---|---|
 |
Headless Mule | 5,000,000 | Medium | Demon | Fire 4 |
 |
Blazer | 5,000,000 | Small | Demon | Fire 4 |
 |
Explosion | 5,000,000 | Medium | Demon | Fire 4 |
 |
Fire Frilldora | 5,000,000 | Medium | Demon | Fire 4 |
 |
Fire Sandman | 1,000,000 | Medium | Demon | Fire 4 |
Wave 4
| Name | HP | Size | Race | Element | |
|---|---|---|---|---|---|
 |
Bungisngis | 30,000,000 | Large | Demon | Holy 4 |
 |
Firefox | 30,000,000 | mEDIUM | Demon | Holy 4 |
 |
Diabolic | 2,500,000 | Large | Demon | Holy 4 |
 |
Naga | 30,000,000 | Large | Demon | Holy 4 |
Wave 5
| Name | HP | Size | Race | Element | |
|---|---|---|---|---|---|
 |
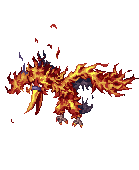
Ifrit | 7,850,000 | Large | Demon | Fire 4 |
 |
Majorous | 2,150,000 | Large | Demon | Fire 4 |
 |
Kaza | 2,850,000 | Large | Demon | Fire 4 |
 |
Lava Golem | 3,350,000 | Large | Demon | Fire 4 |
Wave 6
| Name | HP | Size | Race | Element | |
|---|---|---|---|---|---|
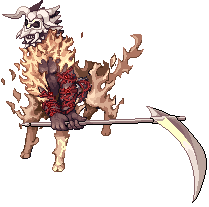 |
Torturous Redeemer | 30,250,000 | Large | Demon | Fire 4 |
 |
Gloom Under Night | 30,250,000 | Large | Demon | Ghost 4 |
Raid Finish